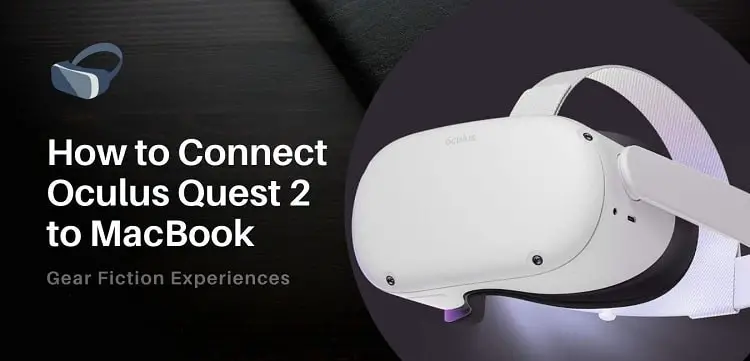
Are you here because you need ways to connect Oculus Quest 2 to your MacBook? Well, we have multiple choices for you.
First of all, you have to know why this process is so important. If you own a Mac and an Oculus Quest 2 headset, you may need to transfer your videos and pictures from your headset to your Mac or vice-versa.
In general, the most common way is to plug your USB cable into a USB 3.0 port on your MacBook and then plug the other end into your headset.
But it is not only that if you want to learn more, keep reading this article.
Related Reviews, Power Bank for Oculus Quest 2 (Top 10 Reviews)

How to Connect Oculus Quest to Mac for File Transfer
The transfer of files from your Mac to your Quest headset is possible and quite easy. If you want to know how to connect oculus quest 2 to mac, then, follow the steps outlined below for file transfer between your devices:
- Install the Android file transfer app and run it
- Open the Oculus app on your smartphone and enable developer mode on your Quest 2.
- Via the USB cable that comes with the package (or a USB C to USB A cable), connect your MacBook with the headset. Use the cable to connect your devices by plugging in the USB C port to your Quest and the USB A end to your MacBook.
- Switch on the headset
- On your headset, click on the “Allow” option from the Allow Access to Data popup
At this stage, you should have a secured connection between your Quest headset and Mac device for file transfer. Through the Oculus folder, you can access the internal storage of the Oculus Quest headset.
Sideloading
Not all games and applications can be found on the Oculus store, especially new and unofficial apps and games, this is where sideloading comes in. Sideloading allows you to install games and applications that are not available in the official Oculus store to your Oculus Quest headset.
Don’t forget to read related reviews, best 10 battery packs for Oculus Quest 2
How to Sideload Games to Oculus Quest 2 with MacBook
To sideload games and applications on your Quest headset, you also need to get a Type C to Type A USB cable, then follow the steps below to sideload Oculus Quest:
Create New Organization – To sideload your headset, you first have to enable developer mode and the way to do this is to “Create a New Organization”.
Locate the Oculus dashboard via a browser. Using your Oculus account, log in and click on “create a new organization”.
Activate Developer Mode – Next, to successfully install the SideQuest app and sideload games and apps, there is a need to activate developer mode.
To do this, locate the Oculus application on your mobile device while making sure that your Quest device is switched on. Also, ensure that the Oculus Quest is on the same wireless network as your mobile device.
In the drop-down menu, locate the headset option under settings and click on it. Next, click on “more settings”, to reveal a list with the developer mode option. Click on the developer mode and turn on the toggle.
Connect Oculus Quest to the Mac – You can do this using a USB C to USB A cable or using a phone’s USB cable.
While connecting the headset to your PC, click on “always allow from this computer” to eliminate the need to allow USB debugging every time you connect.
Download and Install SideQuest – Finally, download the SideQuest application (preferably, the latest version). Run the SideQuest.exe file to select your installation location. This may take a while, especially if you are running the app for the first time on your PC (the sidequest.exe. can be found in the SideQuest folder after extraction)
You can now download different games and applications.
Please note that while installing the SideQuest app, you may get a signal on your PC about the SideQuest app being unrecognized, still run the app irrespective.
New post for your Oculus Quest 2 Head Strap.
Resolving Connectivity Issues Between MacBook & Oculus Quest 2 Headset
If you encounter any issue in the connection stage, you can follow some or all of the simple instructions below to resolve it and successfully enable the connection between your Mac and Quest 2 headset:
- Try again by rebooting your Oculus Quest headset
- You can also try rebooting your Mac
- Ensure that the developer mode is enabled on your headset.
- Disable the “Developer mode” and enable it again
- Install ADB on your MacBook again
- Close the “Android file transfer” and relaunch it
- Try using another USB cable for connection or switch the USB cable position.
Is Oculus Link Compatible with macOS and MacBooks?
MacBooks are known to lack the recommended GPU computing power required for Virtual Reality gaming. The Oculus Link does not also support macOS as it requires Windows 10 to run.
These issues are predominant because MacBooks are not built for virtual reality gaming.
However, you can still connect oculus quest to mac by following the following outlined steps:
Get an External GPU – Modifying the GPU settings may help you resolve the issue of low GPU computing power on your Mac. However, if you are still not satisfied, you may want to get an external GPU for your Mac for better overall gaming performance.
Install Windows 10 on Your Mac – Using Boot Camp, you can install Windows 10 on your Mac. This creates a separate compartment on your hard drive that will only serve the purpose of installing and running Windows.
This way, your Mac will have a dual-boot option so that anytime you switch on your PC, you will be presented with an option for either launching Windows or macOS.
The Use of Virtual Desktop – You can also stream content from your Mac to Quest via the internet using a virtual desktop.
Recommended Post – Best GPU for Ryzen 7 2700

